You walk out of your microblading appointment feeling excited, maybe a bit sore, and then you glance in the mirror. Suddenly, your microblading eyebrows look way too dark and thick, almost cartoonish. That moment of pure panic is so common, and we even have a name for it: brow shock.
If you’re sitting there thinking, “My microblading is too dark,” take a deep breath. You’re not alone. The vast majority of clients feel the same way in those first 1–3 days. The truth is, your artist applied the pigment knowing it would fade and soften during the microblading healing process. Most brows lighten by 20–40% or more by the time they’re fully healed. This article will walk you through what’s happening, what the days ahead look like, and when you should reach out to your artist.
For more details, check out our Brau microblading guide.
Why Does Microblading Look So Dark at First?
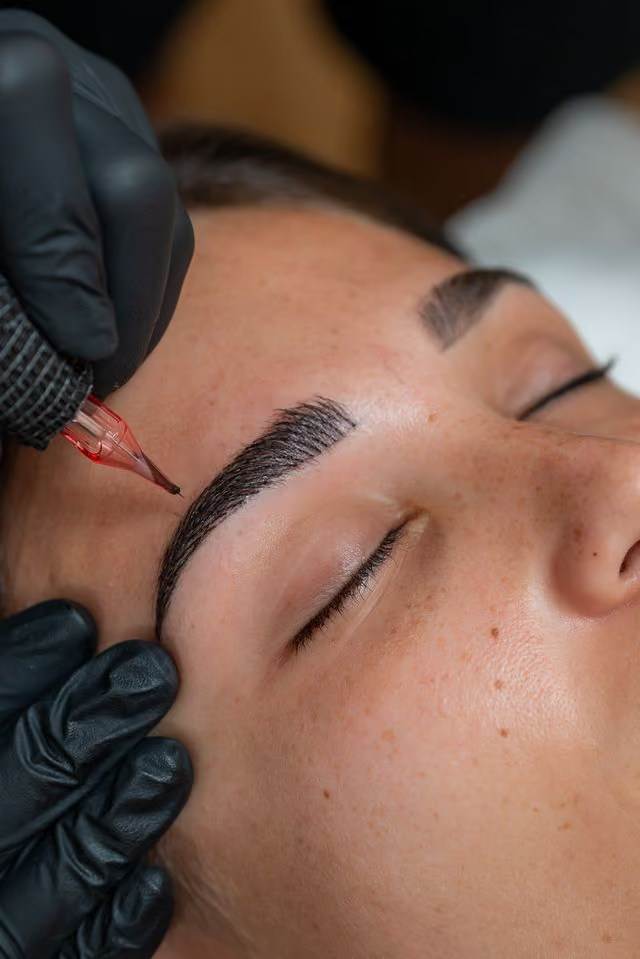
Here’s exactly what’s happening:
- Fresh pigment sits right near the surface of the skin (in the epidermis) before it settles into the deeper dermis layer. This surface placement makes the color look much darker and bolder than it will be later.
- The tiny strokes cause mild swelling and irritation, which makes the lines appear wider and the overall color more dramatic. Numbing creams can add to this temporary puffiness, too.
- Skilled artists intentionally apply the pigment 20–40% darker than the final goal. They know fading is part of the microblading healing process, so they build in that extra depth from the start.
- There’s also the contrast shock factor; if you’re used to lighter or sparse natural brows, the new microblading eyebrows stand out against the rest of your bare face.
- Finally, your skin type plays a role. Drier skin tends to hold onto the color more visibly in the beginning.
Bottom line: What you’re seeing is fresh work, not the finished result.
Day-by-Day Colour Timeline: What to Expect
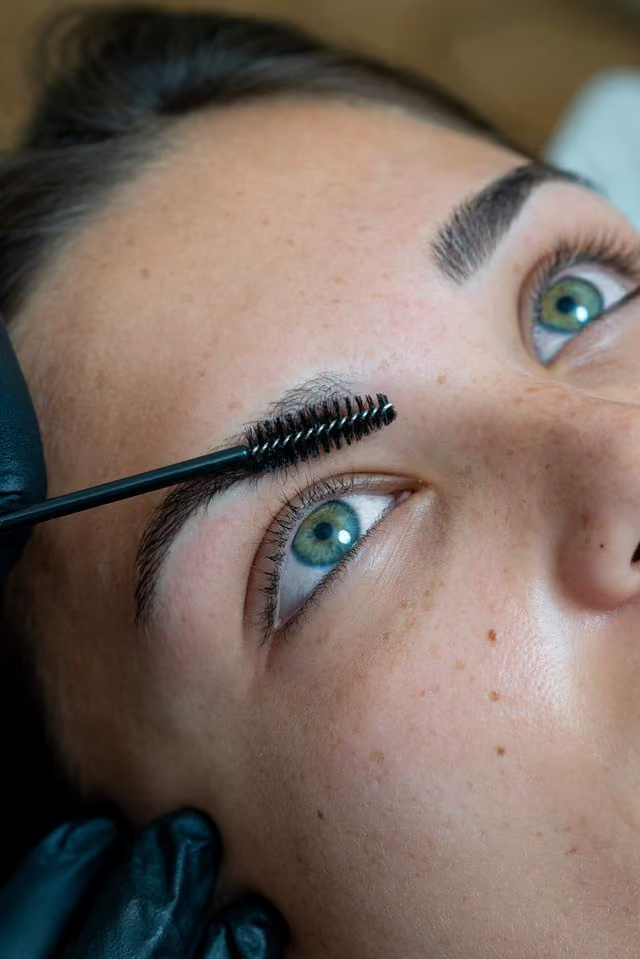
The microblading healing stages follow a pretty predictable pattern. Here’s a realistic microblading day-by-day guide so you know exactly what to expect.
- Days 1–2 (Dark Phase): Your brows look rich, dark, and well-defined. There might be a little tenderness, mild swelling, or tiny dots of redness. This is the boldest stage, many people call it the “wow” (or “oh no”) phase.
- Days 3–5: Things often get even darker as scabbing begins. Don’t be alarmed. Your skin is kicking into repair mode, and the color can appear more intense during this short window.
- Days 5–7 (Scabbing Phase): This is when many clients start to worry. Scabs or flakes form over the strokes. As they dry and start to lift, the area can look patchy or overly dark in spots. The scabbing microblading healing process is completely normal; it’s your body protecting the pigment. Never pick or peel those scabs. Let them fall away naturally to avoid patchy results.
- Days 7–10 (Ghosting Phase): Once the scabs flake off, many people experience the ghosting phase. Your brows can suddenly look too light, blurry, greyish, or almost gone. Don’t freak out; this is temporary. The new skin is still healing and the true pigment hasn’t settled in yet.
- Days 14–21: This is when things start turning around. The pigment gradually shows through more clearly, the definition comes back, and your brows begin to look softer and more natural with each passing day.
- Day 30 and beyond: You finally see the real result. Any fine-tuning happens at your touch-up appointment around the 6–8 week mark.
The full microblading healing process usually takes somewhere between 4 to 6 weeks, but it can vary quite a bit depending on your skin type and how you go about your daily routine. For more information, read our Brau healing process guide.
How Much Lighter Will Your Microblading Get?
On average, expect your brows to fade 20–40% lighter than they appear on day one. Some clients see even more softening by the end.
Several factors affect how quickly and how much the color lightens: oily skin tends to fade faster, sun exposure speeds things up, and strict microblading aftercare makes a big difference. High-quality pigment and good technique also help produce more even, natural fading over time. Remember, the pigment keeps softening gradually for several months after the initial healing.
Aftercare Tips to Ensure Proper Healing and Even Fading
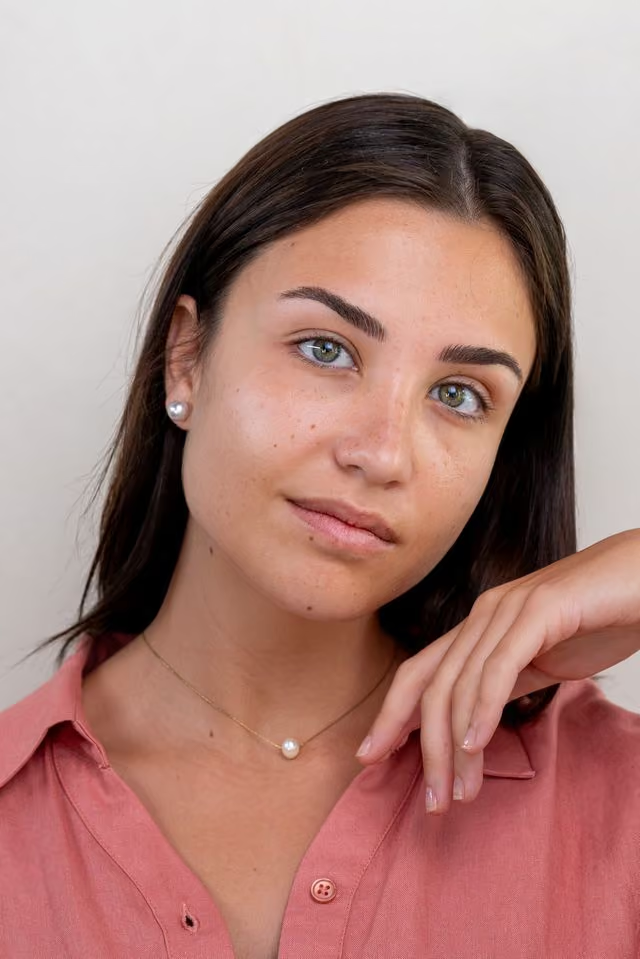
Following solid microblading aftercare instructions is one of the best things you can do for beautiful, even results.
Here’s what to do:
- Clean gently with the saline or aftercare solution your artist gave you.
- Apply a very thin layer of the recommended balm (this is often called wet healing).
- Sleep on your back for the first week or so.
- Stay out of direct sun, pools, saunas, and heavy workouts while healing.
- Pat the area dry with a clean towel, no rubbing.
And what to avoid:
- Picking, scratching, or peeling any scabs.
- Makeup, retinol, exfoliants, or harsh skincare products on the brow area.
- Submerging the brows in water or exposing them to steam.
There’s some debate in the industry about wet vs dry healing. Wet healing (using a light balm) often leads to softer, less scabby results for many skin types, while dry healing can mean more visible flaking. Always follow the specific advice your artist gives you, since they know your skin best.
When to Actually Worry: Signs Something Went Wrong
Most of what feels wrong in the first couple of weeks is just normal healing. But there are a few real red flags with bad microblading eyebrows:
- Swelling, redness, or pain that gets worse or lasts beyond 48–72 hours
- Pus, yellow/green discharge, or increasing tenderness (possible infection)
- Very noticeable asymmetry that doesn’t improve after swelling goes down
- Absolutely no fading at all after 4–6 weeks
- Itching or rash that spreads beyond the brows
If you notice any of these, contact your artist right away. In rare early cases, saline removal can sometimes be done within the first 48 hours.
What If Your Brows Stay Too Dark After Healing?
If your brows are still darker than you want after the full 4–6 weeks, there are several options:
- Just wait a bit longer; semi-permanent pigment continues to fade naturally over the following months.
- Consider skipping or delaying the touch-up session so more pigment can lighten on its own.
- Once fully healed, gentle exfoliation or retinol (used carefully and with guidance) can help speed up skin turnover.
- Professional saline removal or, in stubborn cases, laser removal is available for microblading color correction.
Microblading too dark, how to lighten is a common concern, but rushing into removal isn’t usually necessary. Avoid DIY tricks like hydrogen peroxide; they can irritate the skin, cause scarring, or lead to uneven results.
As a temporary visual fix, brow lamination can sometimes help soften the overall look by relaxing and setting the natural brow hairs around the microbladed strokes.
Dark Microblading After a Touch-Up: Is That Normal Too?
Absolutely. The same healing cycle happens after your touch-up. Because the artist is adding pigment on top of the first session, the color can look even darker and more intense at first. Give it the full healing window again before you decide how you feel about the result. Microblading too dark after touch-up is very common and usually settles beautifully.
Book Your Microblading at Brau
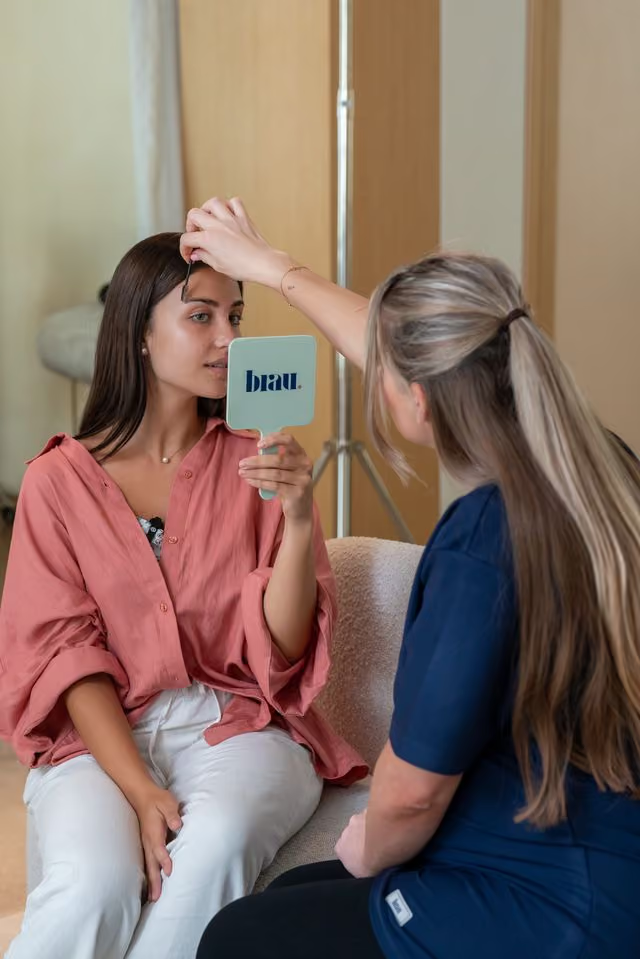
At Brau, we believe in walking with you through every part of the journey: before, during, and after your appointment. Our certified artists take time to explain the entire microblading healing process so you feel prepared and confident.
Ready to finally get the brows you’ve been dreaming of? Book your microblading consultation here. We’d love to help you create something beautiful.
You’ve got this. The healing phase flies by faster than you think, and the results are so worth it. Trust the process; those perfect brows are on their way.